
How do I zoom in vs. pan left and right? How do I rotate the 3D model vs. walk around the 3D model?
How do I go through the annotations?The more familiar you are, the more ways you might think of using 3D models to deliver suitable course content.
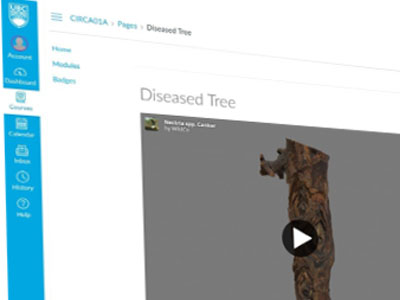
Will students look at the 3D model in a Canvas page or during a live session?
Consider adding instructional text or video to describe what students should be looking for. Or, add the instructional information directly.
For example, add arrows to direct their attention, or add numbers so you can refer to a specific area.
Is the resolution of the 3D model enough for my teaching purposes?
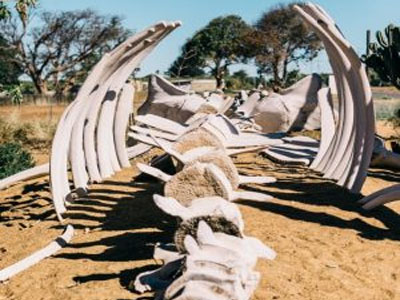
Consider include close-up photos to show details or angles not captured in the 3D model.
Photos of the environment (e.g., photo of the forest the tree can be found) can help provide context to the 3D model.

Is it taking a long time for the 3D model to load?
Viewing the 3D model on a website or in your course requires a constant internet connection.
If possible, allow students to download the 3D model to their computer so they can view it offline without needing a constant high-speed internet connection.